

For my latest costume, as Mary Poppins, I needed her iconic hat. There we many issues that came up with this for me. One being that my head is larger than most and two that the hats were too darn expensive my my budget. Thus the wheels in my head began to turn.
In one afternoon, I was able to create this hat along with the bowtie for my event. Here is my process of making my hat.
Supplies:
4 Squares of Black Felt ( the cheap ones from the kids crafts)
Cardboard or other heavy paper
Fake Daisies and cranberry- not pictured in my hat
Hot glue gun
Scissors
Pencil
Bowl or anything that is a circle that fits your head
(Optional) Hair combs like this one .
Step one: Top of the hat

On your cardboard, trace around the edges of your bowl.

Then add about a half inch to the edge for the clipping. Cut out your pattern and trace onto your felt piece. Glue the two pieces together with your glue gun.

Clip around your edges in a v formation.
Step 2: The band
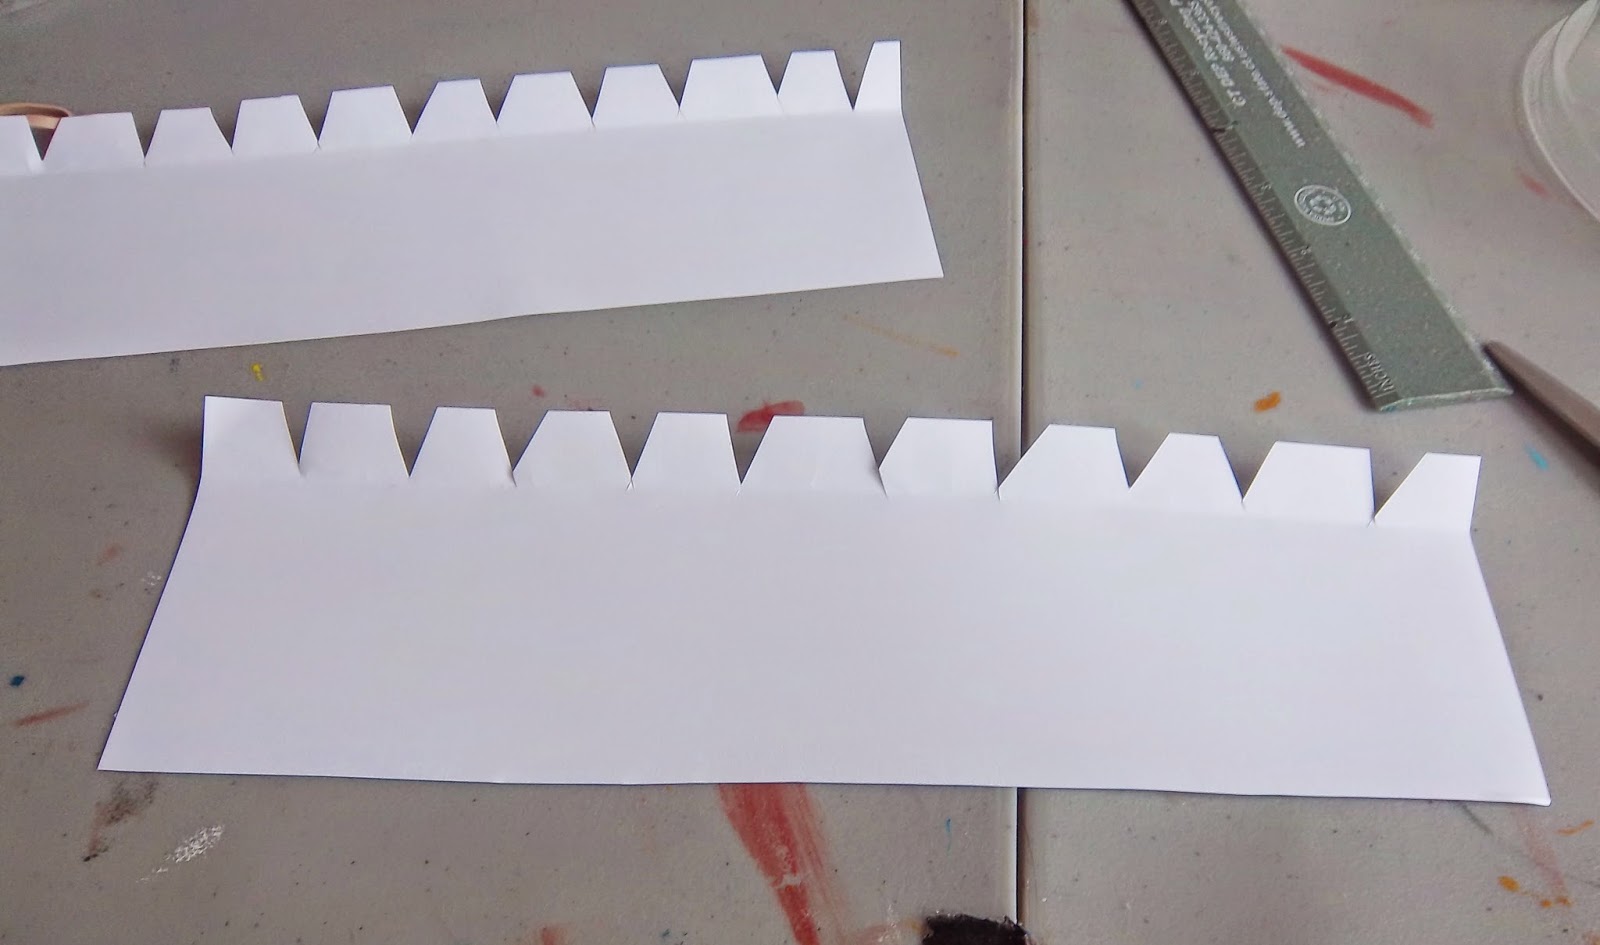
Measure out a strip that is 2 1/2 inches high and the width of your bowl ( mine was 12 inches). Trace and glue to your felt. Clip edges on the horizon lines like you did for the previous step.
Step 3: The brim

Make sure to cover both sides of the brim because both will be visible from other people.

At this point in the project, my felt was not large enough to cover my brim. So I was able to piece together my felt with relative ease. I just made sure that the seams were either on the side or on the back so that they wouldn't show.
Step 4: Putting it all together
By now you should have your three parts of your hat all covered with the black felt. It is time to assemble your hat.

I started off with the top part of the hat by folding up all of the tabs that you created when you made the V cuts. Glue all of these tabs down to the base of your cardboard.
Fold up the tabs for the band of your hat.
This is where it is going to require some finger yoga techniques. Glue the band's tab to the tabs that you just glued down.

It should look like this by the time you have glued everything down.

Next it is time to add your band to the hat. For this one you want to glue the tabs of the band to the back (whatever side looks the worse) of the felt covered band.
Step 5: Decoration
Yay! You should have a basic black hat. Take this moment to pat yourself on the back, you deserve it.

On Mary's hat, she has white daisies and red berries. But since I made mine with items that I had at my studio, it wasn't going to be an exact replica of her hat. I just used dollar store flowers and painted some red to create the illusion of berries.
Also at this point, I added in my comb to the back of my hat. You don't have to use a comb if you don't have one laying around. I was able to bobby pin the back of the hat to my french twist and it lasted all night long.

Not bad for throwing it together in a few hours. How did yours turn out? I would love to see your version in the comments!


